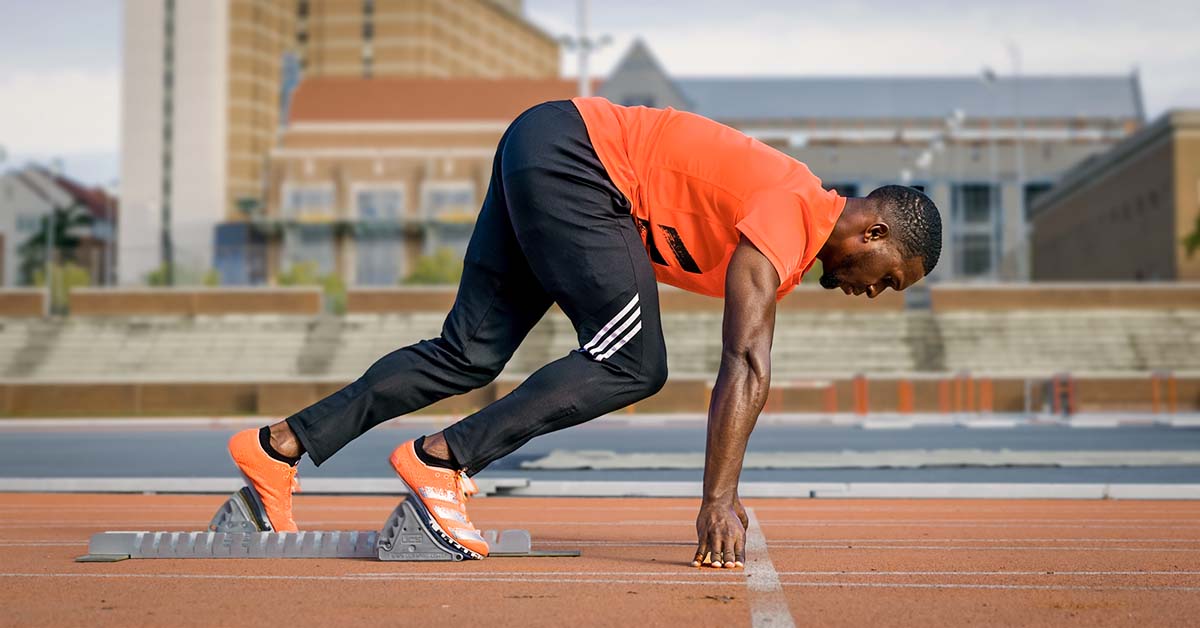
Block Starts for Track: The Technique for Maximum Speed
This is the complete guide on block starts for track and field. Learn optimal block setup & technique to improve block starts and maximize s...
You’re getting stronger in the gym, but not faster on the track. You’ve hammered the squats, the power cleans, and the calf raises.
Your strength numbers are climbing, but the stopwatch hasn’t budged.
Coaches see it too. Athletes do everything right in the weight room, yet their times refuse to drop. The disconnect isn’t effort; it’s a lack of proper tendon training.
To sprint with the best in the world, you must do two things:
Here’s the problem: no muscle on Earth can fire that fast. Even in the most gifted athlete, muscle fibers take around 300 milliseconds to reach peak force (three times too slow).
The math says sprinting at the speeds top athletes reach shouldn’t be possible.
And yet… it is.
Which means the solution isn’t in the muscle at all. It’s in the tendons.
The solution isn’t brute force from the muscle alone; it’s the partnership between muscle and tendon.
The process begins before the foot ever hits the ground as the calf muscles pre-activate, creating immense tension. Then, upon impact, this stiffness allows the Achilles tendon to stretch and store a massive amount of elastic energy.
This stored energy is then returned with incredible speed later in the stance.
This rapid recoil is the biological loophole that makes elite speed possible, providing the powerful “snap” needed to propel the body forward.
The numbers are staggering.
Research confirms that at top speed, 53% to 75% of the propulsive work at the ankle comes from tendon recoil, while the muscle contracts almost isometrically to let the tendon act like a spring.
For athletes, this is why speed feels snappy when you are fresh and elastic, but flat when the system is fatigued.
For coaches, it explains why strength gains in the weight room don’t always translate directly into faster times. Without tendons acting as springs, the math simply doesn’t add up.
That’s where tendon training comes in: it connects weight room strength to real speed on the track.
Of course, to fully capitalize on this elastic power, an athlete must also have a foundation of proper sprinting form.
This principle clears up one of the most misunderstood cues in running: “run on your toes.”
Many athletes hear that and start actively pointing the foot down (plantarflexion) at ground contact.
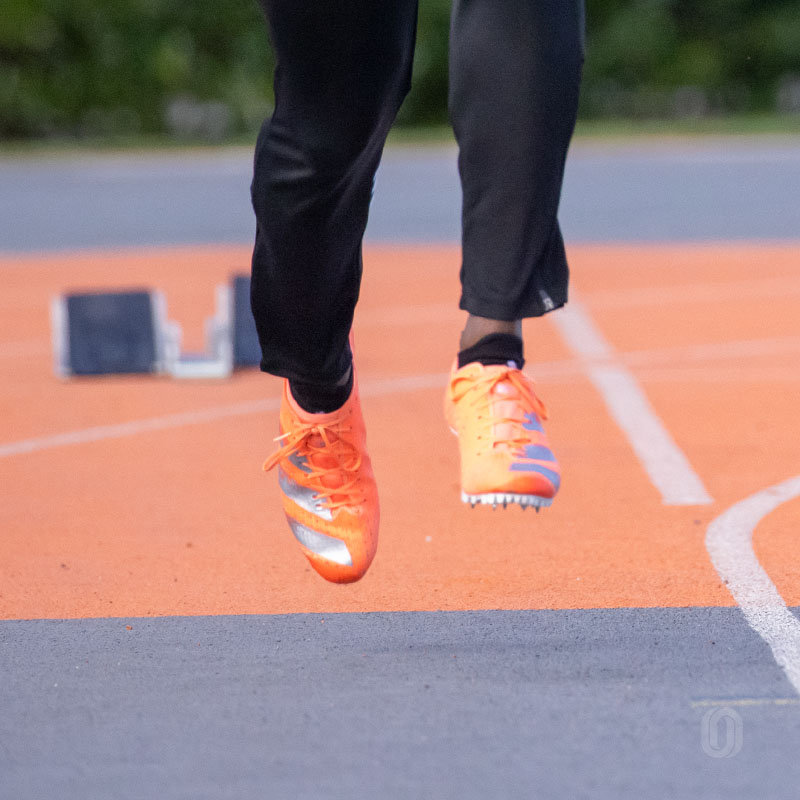
When a large ground reaction force hits a soft, compliant ankle, the heel collapses before the Achilles is even put on stretch. That drop is wasted motion and, more importantly, wasted time.
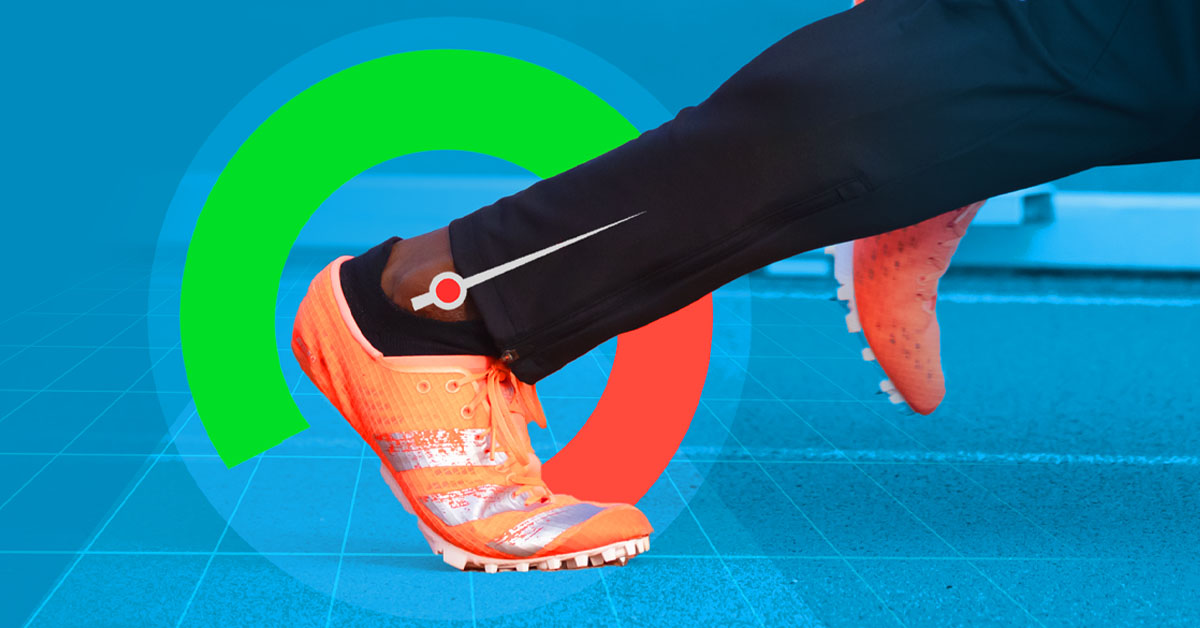
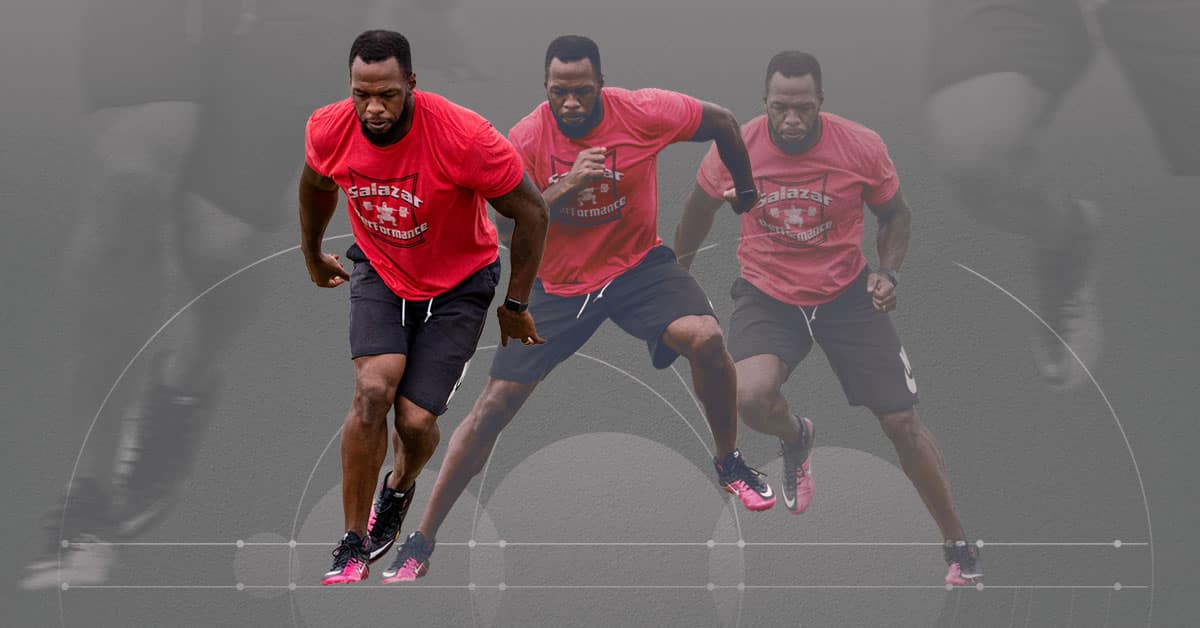
Elite sprinters do the opposite. They approach the ground with the ankle dorsiflexed, toes pulled up toward the shin, to pre-tension the spring.
Pre-activation sets the leg to meet the ground and stiffen quickly, which helps the system engage the stretch-shortening cycle as soon as the foot hits.
After touchdown, the ankle naturally dorsiflexes early in stance, then plantarflexes through toe-off in fast sprinting, and higher performance is linked with a stiffer ankle strategy.
Simulation work also shows that "reducing dorsiflexion excursion during early stance can improve acceleration by shortening contact and boosting net impulse"
Translation: less collapse and more snap.
Think of it like dropping a basketball on sand versus concrete. One absorbs force. The other returns it. Dorsiflex on approach to preload the spring, then let the tendon do what muscles alone can’t.
This isn't just theory; it's how the best in the world are coached. In the video below, University of Georgia Sprints Coach Karim Abdel Wahab explains exactly why the common "run on your toes" cue makes athletes slower.
Every time you sprint, your Achilles tendon is basically printing free energy.
While your muscles burn through ATP like a gas-guzzling engine, your tendons are playing a different game. They capture force, store it, and fire it back with about 90–95% efficiency. Your tendons are truly engineering marvels.
This low-cost recycling contributes to what scientists measure as running economy, the oxygen cost of running at a given speed.
However, the loads your Achilles tendon manages are absurd. Each step in a sprint can generate more than 900 pounds of impact force!
Thanks to the leverage at the ankle, the tendon itself often handles six to eight times an athlete’s body weight. For a 180-pound sprinter, that’s over half a ton. Every. Single. Step.
This is where smart tendon training pays off. High-load resistance doesn’t just make muscles stronger, it remodels tendons themselves.
They grow stiffer, thicker, and more resilient, developing the capacity to buffer those insane forces without breaking down.
Think of it as upgrading from dollar-store rubber bands to industrial-grade springs.
The payoff is huge. Athletes that strengthen tendons and ligaments aren’t just faster; they’re harder to break. They recover quicker, handle bigger training loads, and maintain top speed deep into the season.
For coaches, that’s the holy grail: athletes who can absorb the training you want to give them without limping into the trainer’s room.
Bottom line: Tendons aren’t just connective tissue. They’re force multipliers, shock absorbers, and the difference between finishing strong or finishing in a walking boot.
Understanding the science is the first step. Now, we translate it into action. The blueprint for engineering a more explosive athlete with tendon training is a two part plan.
First, you must build a thicker, stiffer spring with high tension training.
Second, you must teach your nervous system to use that spring with lightning speed.
Safety first: Tendons adapt over months, not weeks. Progress gradually. During and next-day pain should stay ≤2–3/10. If you get sharp pain or rising morning stiffness, reduce load/volume or push the session back. If you feel sharp pain, pull back and reassess your load.
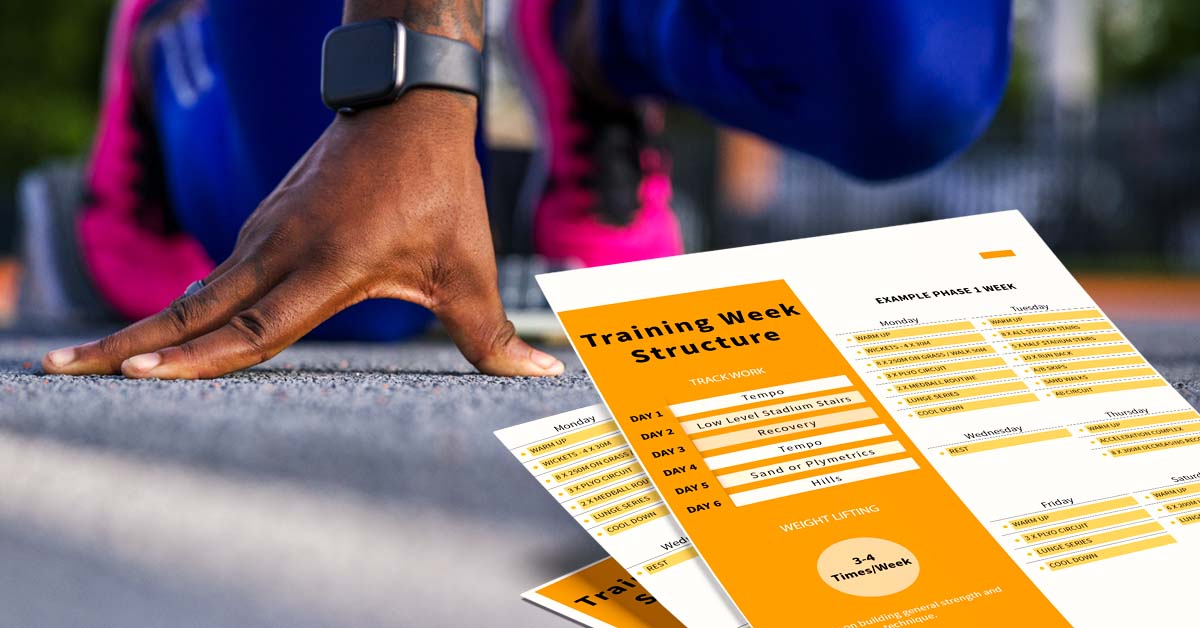
Your tendons do not respond to “the burn.” They respond to high mechanical tension. Load magnitude is the key driver of tendon adaptation, more than contraction type in tendon development. Here is how you can incorporate into a full sprint training program.
How to use this: Choose one of the three methods as your primary for 12 weeks. You can rotate methods across blocks during the year, but don’t stack big volumes from two methods in the same week. Keep 48–72 hours between your heaviest tendon session and your most reactive plyo/max-V work.
Quick chooser
| Method | Weekly Frequency | Main Load | Notes |
|---|---|---|---|
| Heavy Isometrics | 2–3×/week | Short heavy holds or longer submax holds | High tendon forces w/ movement; contraction type is secondary to load |
| Heavy Slow Resistance (HSR) | 2×/week | 6–8 reps, 3s up/3s down, heavy | Effective and athlete-friendly vs ecc-only |
| Alfredson Eccentric (modified) | 5–7 days/week (lower daily vol. if healthy) | Heel-drop eccentrics, progressive load | Classic for rehab; adjust volume in healthy athletes |
Why it works: High mechanical tension is the main driver of tendon adaptation. Contraction type/hold length are secondary to reliably reaching that strain. Short, very heavy holds are a practical way to do it.
Exercises
12-week plan (adaptation-focused default)
Basic clinical context and setup examples
Safety / pass–fail gates
Why it works: HSR produces high tendon strain with controlled movement and has outcomes comparable to eccentric-only programs in Achilles rehab at 12 weeks, with better athlete satisfaction. High-strain calf training over ~12–14 weeks can increase stiffness and sometimes cross-sectional area. For healthy athletes, it’s easy to dose alongside sprinting.
Exercises
Tempo: 3-0-3-0 — 3 seconds up, no pause, 3 seconds down, no pause. If you can’t keep the tempo, it’s too heavy.
12-week plan
Safety
The original Alfredson heel-drop program is very high-volume daily eccentrics. For healthy athletes in a performance block, a lower-frequency, higher-load variant preserves benefits while respecting sprint/plyo recovery.
For healthy athletes, lower daily volumes can maintain effect with better tolerance
Exercises (eccentric-only lowering)
12-week plan (performance-volume variant)
If rehabbing symptoms (not just performance): the classic is 3×15 straight + 3×15 bent, twice daily, 7 days/week, ~12 weeks, adding load if pain is absent. Use this only when symptoms are the priority.
Safety
Pick one method (Isos or HSR) and do it twice this week. Keep your fastest sprint/plyo day 48–72 h away.
This week
Session A — Isometric Holds (10–15 min)
Session B — Slow Heavy Calf Raises (20–25 min)
Plyos (once/week)
Green / Yellow / Red (next morning)
One-line rules

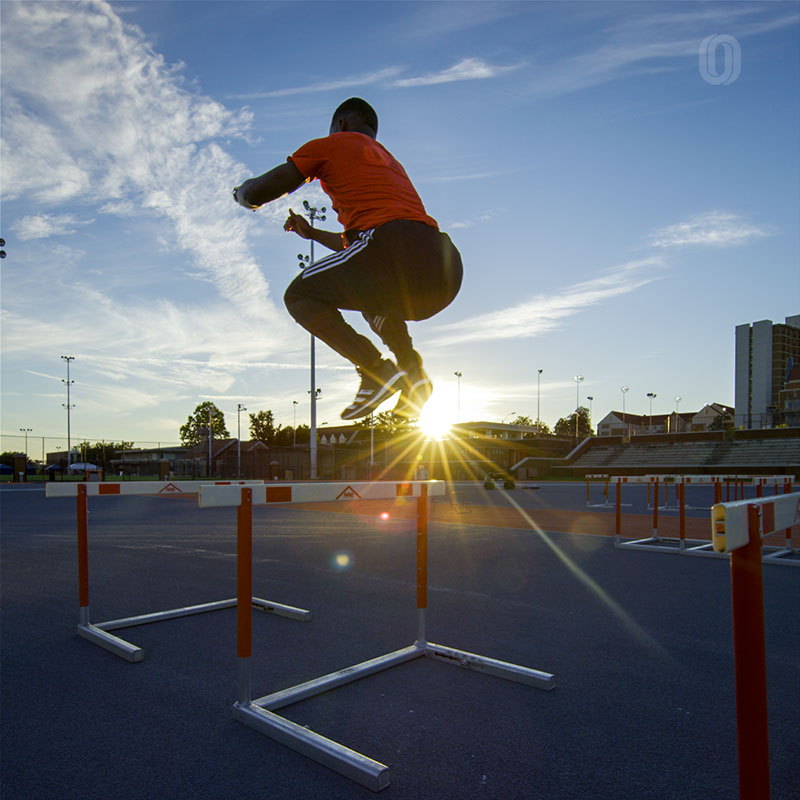
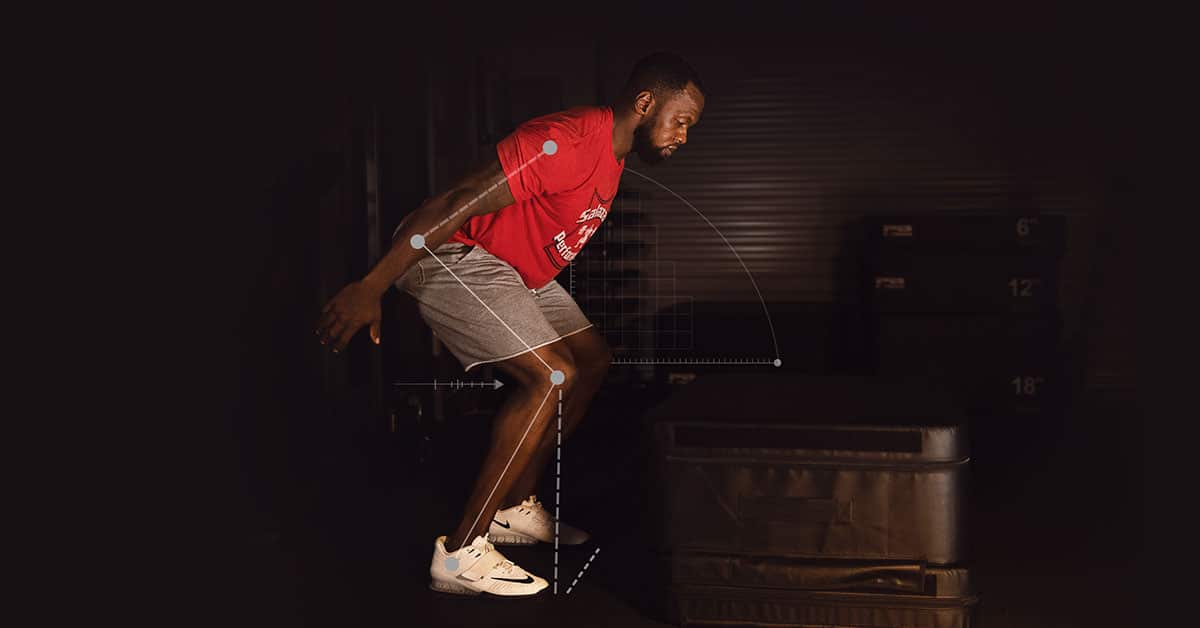
While heavy loading builds the spring, plyometrics teach your nervous system to use it. The goal isn't just jumping it's progressively reducing ground contact time from beginner-level 300-400 milliseconds down toward the 80-100ms that elite sprinters achieve.
Recent research confirms the minimum effective dose for tendon training: 100 jumps per session, 3 times weekly creates measurable tendon adaptations.
But here's what most programs miss, ground contact time matters more than jump height. A perfect 150ms contact with moderate height beats a high jump with 400ms on the ground.
⏱️ The Contact Time Reality Check
Before diving into exercises, understand where you stand:
📋 Quick self-test (phone only): Film a drop jump in slo-mo. Count frames from touchdown → takeoff.
Most phones shoot at 240 fps (≈4.17 ms/frame):
Rule of thumb: if contacts get loud or sticky, lower the height or stop the set then progress again when they’re quick and quiet.
How often
Most sprinters need one plyo session per week. In base phases you can add a second, but always keep it 48–72 hours away from your heaviest calf work and max-velocity sprinting.
One session script (use in every phase)
Warm-up → 1–2 quick primer drills → main set (pick A or B) → 2 × 30 m relaxed buildups → done.
Rest fully between sets (roughly 1:2 work:rest; think 2–3 minutes between hard sets).
Weeks 1–4 — Foundation
Aim for 60–100 total contacts (beginners start 40–60).
Ground contacts feel quick but controlled—roughly 200–300 ms.
Primers: ankle pops, jump rope, line hops.
Main (pick one):
A) Low box hops (15–30 cm) 4 × 6 (stick) → then continuous 3 × 6.
B) Straight-leg bounds or Speed-bounds 3 × 20 m → relaxed bounds 3 × 6–8.
Weeks 5–8 — Power
Aim for 90–120 contacts.
Ground contacts get snappier—about 150–200 ms.
Primers: pogos, single-leg ankle pops, low hurdle hops.
Main (pick one):
A) Depth jumps 4–5 × 3–5 from the box that gives your best RSI (often 20–40 cm to start).
B) Bounds 4 × 10 (measure distance) → power skips 3 × 20–30 m.
Optional: add a little single-leg work (20–40% of contacts) if quality stays high.
Weeks 9–12 — Peaking
Keep 60–90 contacts—intensity stays high, volume drops.
Ground contacts trend toward sprint-like quickness—about 100–140 ms.
Primers: quick pogos or rope (short).
Main (pick one):
A) Hurdle hops (continuous) 4 × 6–8 + depth jumps 3 × 3 (same “best RSI” height).
B) Single-leg bounds 4 × 15–20 m + fast bounds 3 × 8 (rhythm > height).
Depth-jump height
Start with 20–30 cm. Raise the box only if your RSI improves and your contact time stays fast (as a feel cue, under ~0.25 s).
Quality rules
Meet-week tweak
Your last full plyo is 48–72 hours before competition. The day before: 10–20 crisp contacts only, then stop while you feel bouncy.
One of the most significant breakthroughs in tendon training comes from Keith Baar's laboratory at UC Davis, where researchers discovered a simple nutritional hack that can double your collagen synthesis response to training.
The Protocol
Consume 15g of gelatin (or hydrolyzed collagen) with 50mg of Vitamin C exactly 60 minutes before your tendon training session. Subjects who took 15 g gelatin 1 h before exercise showed double the amino-terminal propeptide of collagen I in their blood, indicating increased collagen synthesis.
Why It Works
The timing isn't arbitrary. Supplementation with gelatin increased circulating glycine, proline, hydroxyproline, and hydroxylysine, peaking 1 hour after the supplement was given. This creates the perfect window where amino acids are at peak availability when mechanical loading triggers collagen growth.
Every time you exert a load against a tendon, water is squeezed out. As the tendon recovers, that water is sucked back into the extracellular matrix and with it comes any nutrient that's in the blood at that moment.
Implementation
What: 15g unflavored gelatin powder + 50mg vitamin C tablet
When: Exactly 60 minutes before tendon training
Cost: About $0.50 per dose
The doubling of collagen synthesis was maintained throughout the whole 72 h of treatment. While athletes spend thousands on recovery gadgets, the most powerful tendon adaptation tool costs $15 and fits in your gym bag.

RSI stands for Reactive Strength Index. From a drop jump, calculate RSI = jump height (meters) ÷ ground contact time (seconds). Higher RSI means quicker, more elastic contacts. Use RSI to choose depth-jump height: progress only if RSI goes up and contacts stay fast.
Good ballpark ranges (drop jumps):
~1.5–2.0 = solid base,
~2.0–2.5 = ready for most plyos,
2.5+ = handle intensive work; elite jumpers are often 2.5–3.5+.
MVC = Max Voluntary Contraction (your best effort today in that position).
85–90% MVC ≈ very hard—about 9/10 effort for 3–5 s holds, controlled and steady.
Plan on 8–12+ weeks of consistent high-tension loading; many tendon training programs anchor around 12 weeks for meaningful change.
Typically 2 tendon sessions/week (Isos or HSR) plus 1 plyo session/week. In base phases you can add a second plyo day if recovery stays good.
Yes—do plyos first, then lift. Even better, separate them by a few hours or place them on different days for quality.
Beginner: 40–80 • Intermediate: 80–120 • Advanced: 120–180 (rarely >200 in-season). Stop when contacts turn slow or sloppy.
By phase: Foundation ~200–300 ms, Power ~150–200 ms, Peaking ~100–140 ms. (For context, max-velocity sprinting is ~80–100 ms.)
Start 20–30 cm. Raise only when RSI improves and contact time stays fast (as a feel cue, <~0.25 s). If landings get loud or sticky, lower the box.
Use the 24-hour rule: Green (≤3/10) → progress next week. Yellow (a bit stiff) → repeat same load. Red (>3/10, sharp, or rising) → reduce load/sets or add rest.
Yes. The principles carry over: heavy loading builds stiffness, plyometrics build reactive ability. Exercise choices and angles change, but the logic is the same.
Strength alone doesn’t unlock speed, stiff, well-loaded tendons plus fast, well-timed contacts do. The plan is simple:
Stick with it for 12 weeks, progress a little each week, and protect quality (tempo, contact time, landings). Do that, and you won’t just get stronger in the weight room, you’ll get faster on the track.


Hello,
Do you mix the 15g of unflavored gelatin in water and then take the Vitamin C right after? Thanks!
Exactly, the idea is to take both the gelatin and the Vitamin C at the same time.
Would vitamin c powder work as well if mixed with the gelatin powder in water?
Absolutely, that is a great way to dial in the dose as well.