Track & Field Warm Up - Essential 3 Step Warm Up for Sprinters, Hurdlers & Jumpers
Sprinters, hurdlers, and jumpers know that a proper track and field warm up before practice is non-negotiable. If you skip this critical par...
When it comes to high jump technique, dialing in your approach is a must.
If you don’t start well, your jump probably won't end well.
From beginners to advanced high jumpers, the accuracy of your high jump approach will determine how well you go over the bar.
If we go back to the late 1960’s when Dick Fosbury discovered the Fosbury Flop high jump technique, we find the reason for his unique jumping style.
From a physics standpoint, it allows you to approach the bar with more speed and clear the bar while keeping your center of gravity at or below the bar – which is much more efficient.
This was a genuine revolution in high jump technique as well as track and field.
What Fosbury instinctively knew was that the approach does all the work and if done right, physics will take care of your rotation over the bar.
Everything that happens in the approach is setting-up the body to be in the correct position at takeoff. It’s the main factor that will determine how successful your bar clearance will be.
Once you get the approach right, the probability of making higher heights skyrockets!
We’re going to break down the approach step-by-step because it's the most essential element in learning how to high jump.
The purpose of this article is to help you develop consistency in your approach from start to takeoff.
Remember, when it comes to a successful jump, the approach does all the heavy lifting!
A high jump approach follows a basic J-style turn that creates centrifugal force to propel the athlete around the curve of the J and up over the bar
The approach can vary from 8 – 12 steps.
Generally speaking, women run 8-10 steps and men run 10-12. Those steps are divided, running half on the straight and half on the J-curve, including the penultimate and takeoff steps.
To accelerate well in the approach, proper posture is vital. Shoulders back, hips up, active arms and graceful running all contribute to a successful launch.
Effective high jump workouts incorporate a range of drills to develop posture and core stability.
High jump approach starting styles can vary from athlete to athlete but ultimately; the most successful jumpers will remain consistent in their approach.
So it’s vital that you find the approach that works for you and then continue to practice and refine it so your high jump technique is executed the same way for every single jump.
There are a few different styles in which athletes can begin their approach.
In learning how to high jump, you want to identify a style that feels most comfortable and sets you up for proper posture.
If your posture is wrong at the start, your entire approach will be off.
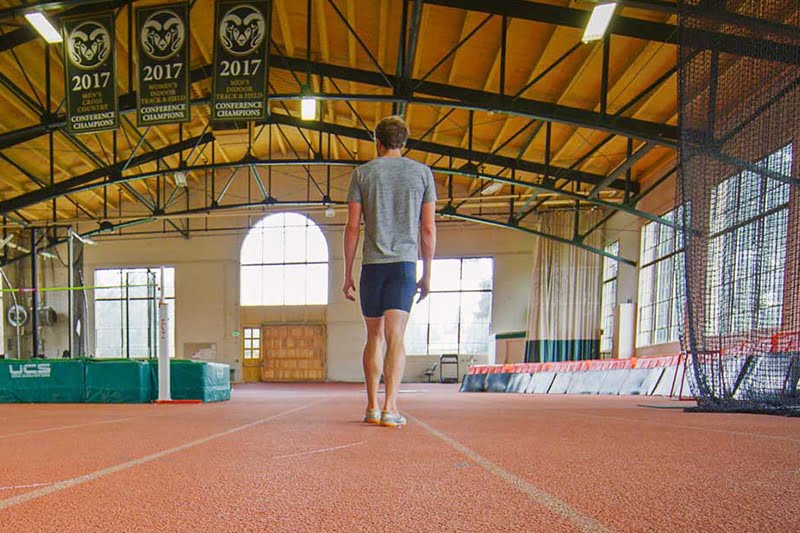
You start your approach from standstill:
You take a few walking steps leading into your first two acceleration steps:
This is a more aggressive approach and requires more practice to get consistency:
Now that you know the different ways to start your high jump approach, let's break down each step of a 10-step approach:
STEP 1: Most athletes will take their first step with the same leg they takeoff with.
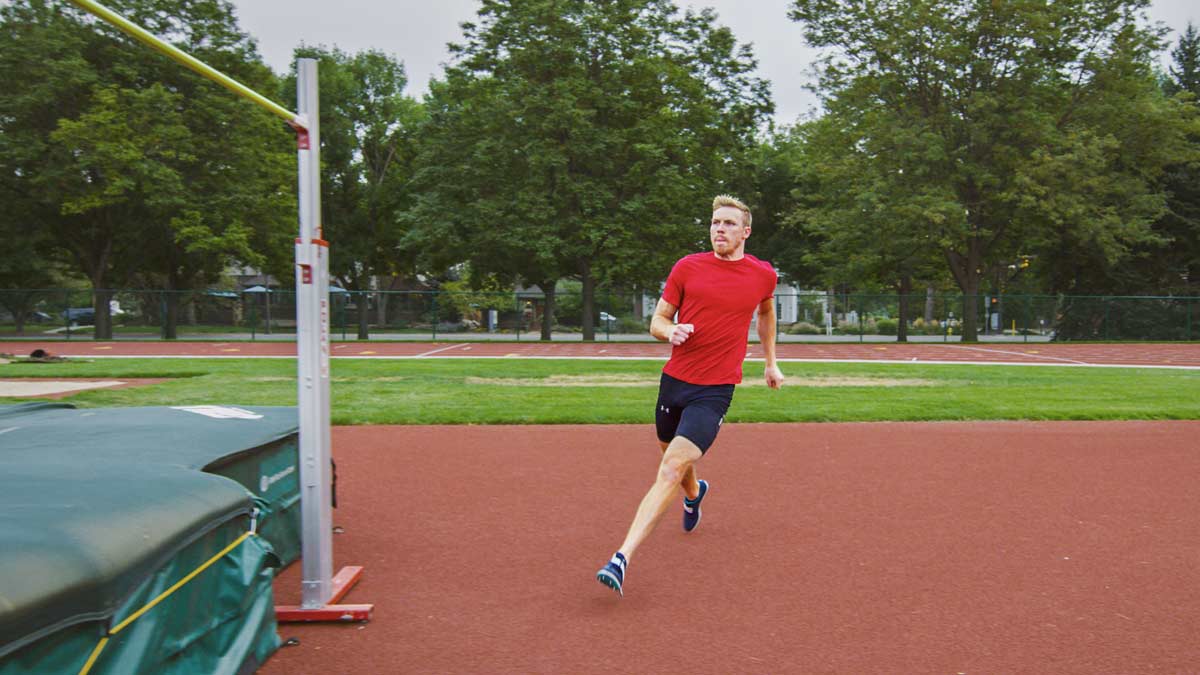
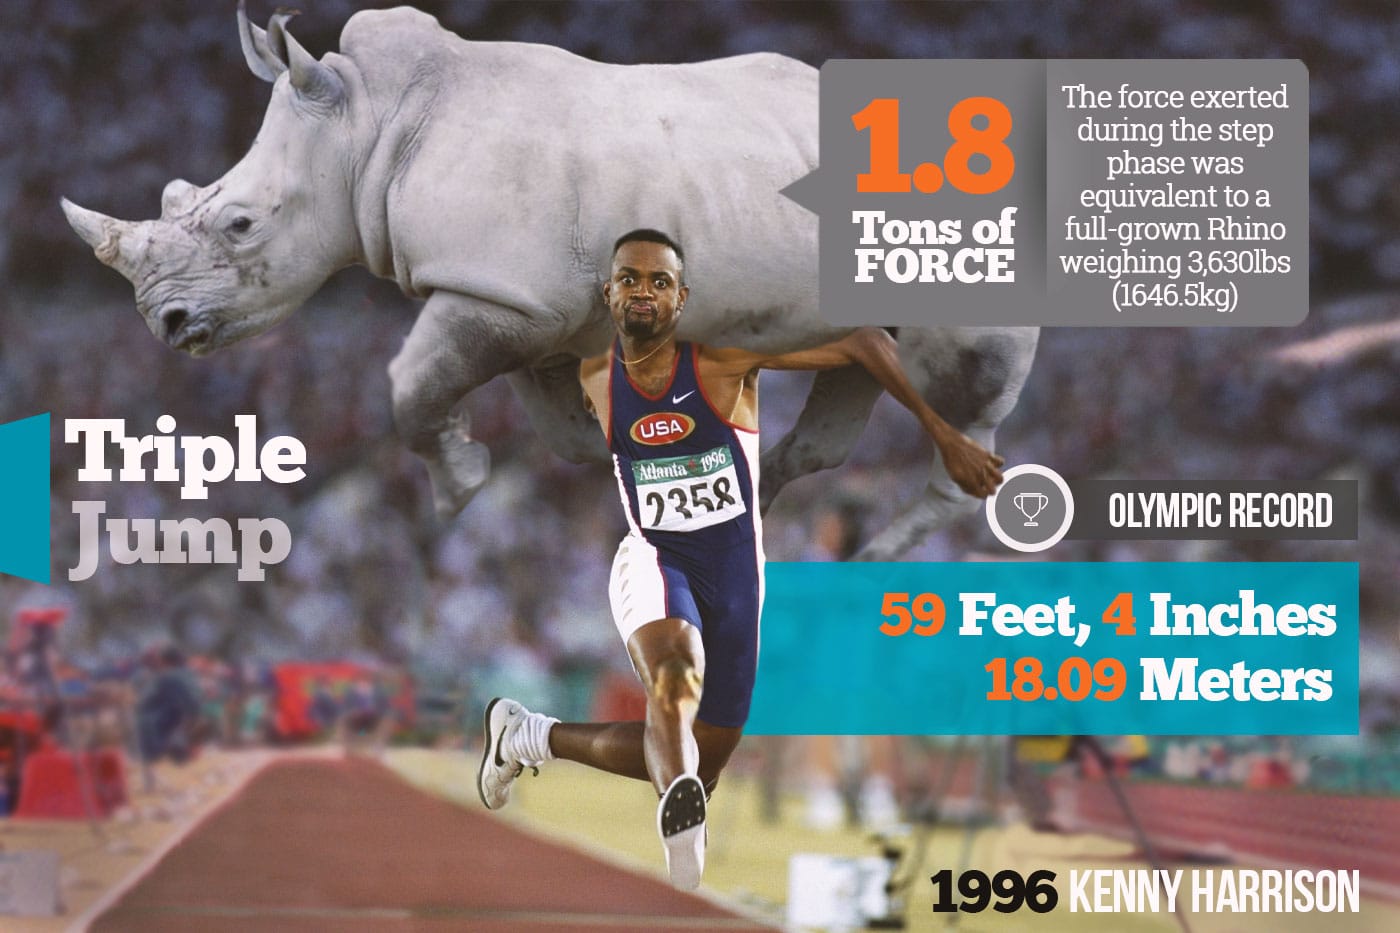
STEPS 1-3: In the first two to three steps, you have to accelerate. This is called the drive phase. Building speed is critical to height as you approach the bar. Your movement should be deliberate, dynamic and graceful.
You should be moving into an upright running posture by the third step and you should continue to accelerate in a straight line until the mid-point.
The mechanics of the first half of your steps should be consistent with a normal acceleration pattern and upright sprinting mechanics.

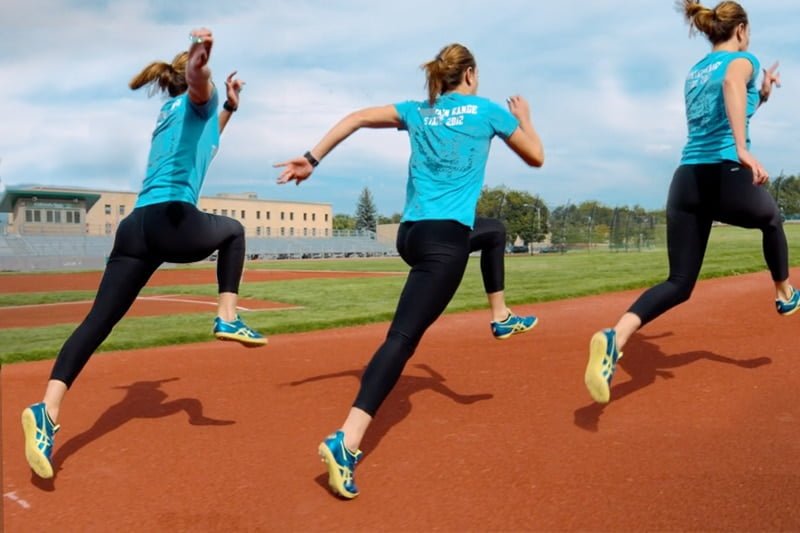
STEP 5: This is the step where the curve is initiated and you should begin to travel outside of the forward straight line of movement.
But don’t slow down, this will reduce the height/accuracy of your jump. This is where many great jumps are lost.
STEP 6: On the midpoint you should establish your J-curve. The goal is to run the curve with the greatest amount of controllable horizontal velocity with as much inward lean as possible to still be able to execute a safe jump.
Now the force isn’t just vertical into the ground, it is also lateral toward the bar.
The transition to the turn should be a combination of straight ahead running and single track running while continuing to accelerate.
The first step into the curve should be slightly inside your hip with the foot turned just slightly towards the mat.
A common high jump technique mistake is to step too far outside of the curve, making the turn too wide. This can cause multiple errors in your jump, such as improper takeoff angle.
To run on the J curve, each successive step should be directly in front of the previous one.
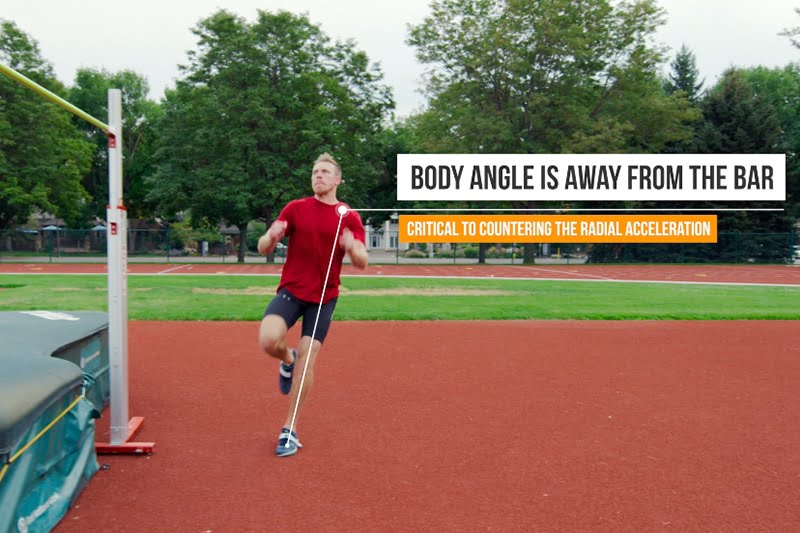
As you approach the takeoff and penultimate step, your body should be leaned away from the bar.
The J curve allows you to lean away from the bar, creating the proper launch angle to clear it.
STEP 9: The takeoff and penultimate steps must also be on the curve.
Instead of continuing to push directly behind, you’ll push from the outside.
In this step the center of mass is lowered with minimal deceleration. This is done by continuing to run the curve correctly.
STEP 10: The approach should result in a position of inward lean at the takeoff point.
This is a critical element of high jump technique.
The takeoff step should land in front of your center of mass to create lift and be positioned between the two corners of the mat.
The drive knee should be straight, in line with the body, not driving across the body.
Reach high with your lead arm, guiding your body skyward.
We've covered some of the main technical elements of the high jump approach.
Remember, your flight path can't be changed once you leave the ground so your approach must be perfect.
That's the reason coach Ryan Baily spends so much time discussing it in his High Jump master class, "Jumping Smarter, Jumping Higher." It's the linchpin of the event.

How to correct the foot drag of the leading leg?
Standing, face forward with your plant foot in front and your penultimate behind (a forward facing split)
Try dragging the toe of your Penultimate. Easy, right?
Now repeat the same exercise however this time lean into a wall with your plant foot shoulder, then try dragging the Penultimate’s toe…
Great tip Dave, thanks for sharing!
I keep touching the mat with my feet, when I want to take my jumps lately. So how do I stop making my legs touch the mat?
Move your takeoff back, you definitely should not be touching the mat with your feet.
How do you use a tape measure to accurately measure out and mark your steps? Growing up I was taught taking two measurements, the first one from the base of the standard and out to the side, and then the second one from that point straight back. Is this accurate? Thank you for your help!
Question 1: Is the takeoff point measured directly in front of the middle of the standard?
Question 2: How far is the takeoff point from the mats in feet/inches?
Question 3: In your picture above of the j curve, is there a way to measure the take off spot to the intercept of j curve in feet/inches?
How do you prevent the athletes feet from the clipping the bar?
How do I keep my high jumper from tucking her knees in, thus dropping her hips, while going over the bar?
What is the Radius 17‘6‘‘ in meters?
The radius is ~5.33 meters.
How can i keep my athlete from dropping his hips on the curve before his penultimate step?
how can I get my athlete to hold his arch longer and drop his head back to raise his hips?
Great questions Alex. Without seeing the athlete its difficult to pin point the specific error however here are a few things to try that work for most high jumpers. First, focus on good posture and maintaining an active lean from the ankles, not just bending at the waist. Keeping the inside shoulder slightly lower and engaging the core will help stabilize the hips. They should also push actively through the curve rather than running passively, this will help with excessive sinking. Something that really helps with this is to have them practice progressively faster curves while maintaining this consistent lean angle (using resistance bands from the inside of the curve to help them feel proper positioning can really help).
To hold the arch longer, cue them to drive the chest up at takeoff and delay dropping their head. The the chin should rise naturally rather than forcing it back too soon. Strength can really help here, working on glutes and lower back to help maintain the arch. During practice, use drills like curve walks for posture and horizontal takeoff drills. Some coaching cues: focus on running tall through the curve, driving up rather than in at takeoff, and pushing the ground away rather than thinking about jumping up. Watching slow-motion video with the athlete can be a great way to reinforce these adjustments and provide visual feedback
For new jumpers how do you first establish their approach? How do you use a tape measure to accurately measure out and mark your steps?
Great question! A lot goes into discovering an approach but I'll provide the high level details. For new jumpers, start by figuring out their takeoff foot and then work backward to set up a consistent approach. First, have them stand at what you think is their takeoff spot and reach up to touch the bar - this helps establish the right distance from the standards and gives them a feel for their target. A good starting point is a 5-step or 7-step approach, depending on their experience and comfort level.
To measure it out with a tape measure, have the jumper stand at their takeoff spot. From there, they take normal, controlled strides backward along their curved approach until they reach their starting point. You can mark both the starting point and the apex of their curve to help them visualize the path. Once you find a comfortable approach, measure that exact distance and mark it with tape or a cone.
When measuring, also note the distance from the standards to ensure consistency across different facilities. Over time, you'll refine the mark based on their rhythm and consistency in practice. You might adjust the starting point slightly forward or back depending on their speed development.
The key is making sure they feel comfortable and can hit their mark every time without overthinking. Encourage athletes to practice walking through their approach several times before running it at full speed. Hope that helps!
My coach makes us run a 4 left approach (8 step). Is this technique still optimal?
Great question! A 4-left (8-step) approach is a common and effective setup for a lot of high jumpers, especially at the high school and college level. It gives you solid distance to build speed while keeping your rhythm under control.
That said, approaches are highly individual—what works best depends on your speed, strength, timing, and even how you feel during takeoff. It’s definitely worth experimenting and finding the approach that helps you stay consistent and explosive off the ground.
Pay attention to how you feel coming out of the curve and whether you're hitting your mark cleanly. Film a few jumps, make small adjustments, and see what gives you the best results.
Keep at it—and let us know how it goes!